Get Your API Key
First, you need to get your unique API key.
- Go to the NagaAI Dashboard.
- Navigate to the API Keys section in the dashboard menu.
- Click “Create API key”.
- Copy the key and save it somewhere secure. For security reasons, you will not be able to see the key again.
Try the Playground
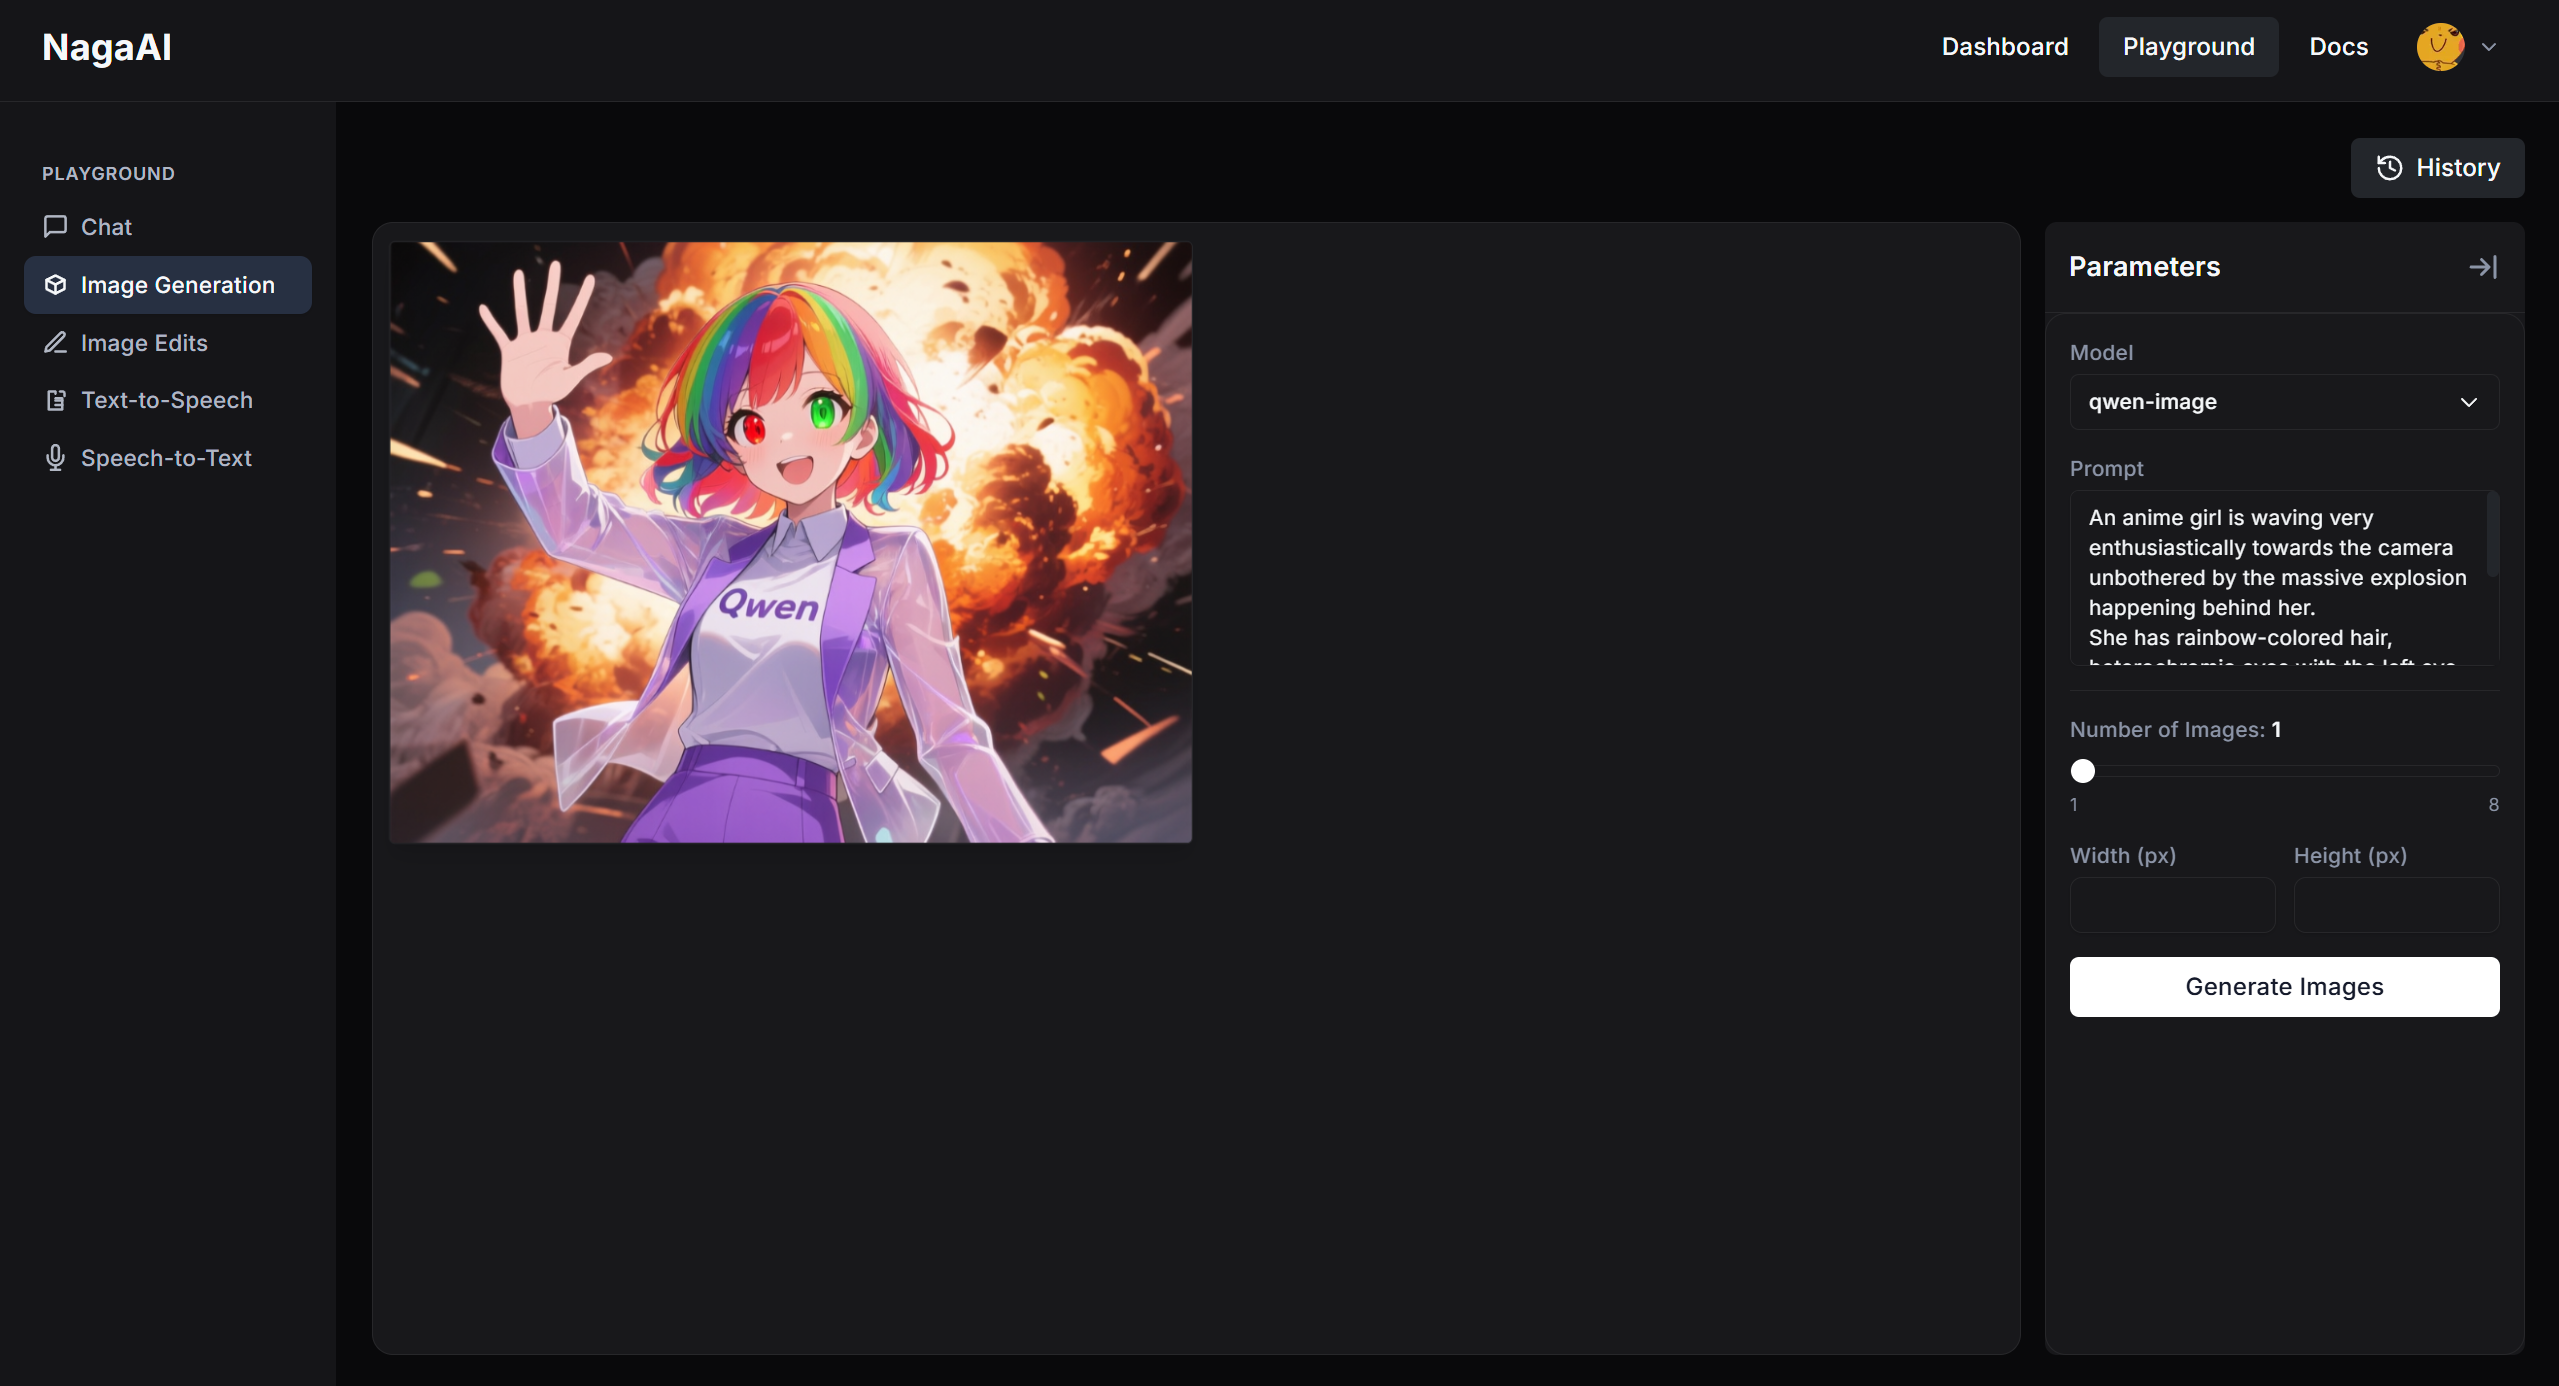
The easiest way to start exploring NagaAI is through the Playground. It’s a web-based interface where you can test different models and features without writing a single line of code. Here’s how to get started:
- Go to https://naga.ac/playground
- Explore all the models available to you!

Next Steps
Congratulations! You’ve got your API key and know your way around the Playground. Here’s what you can do next:Online Chat Interface
Jump into our user-friendly chat interface to talk with different AI models.
Make Your First API Call
Ready to build? This guide will walk you through making your first API
request.
API Reference
Dive into practical examples for image generation, text-to-speech, and more.
Discover Available Models
See the full range of text, image, and audio models you can use.

